Creating a Lens of Truth
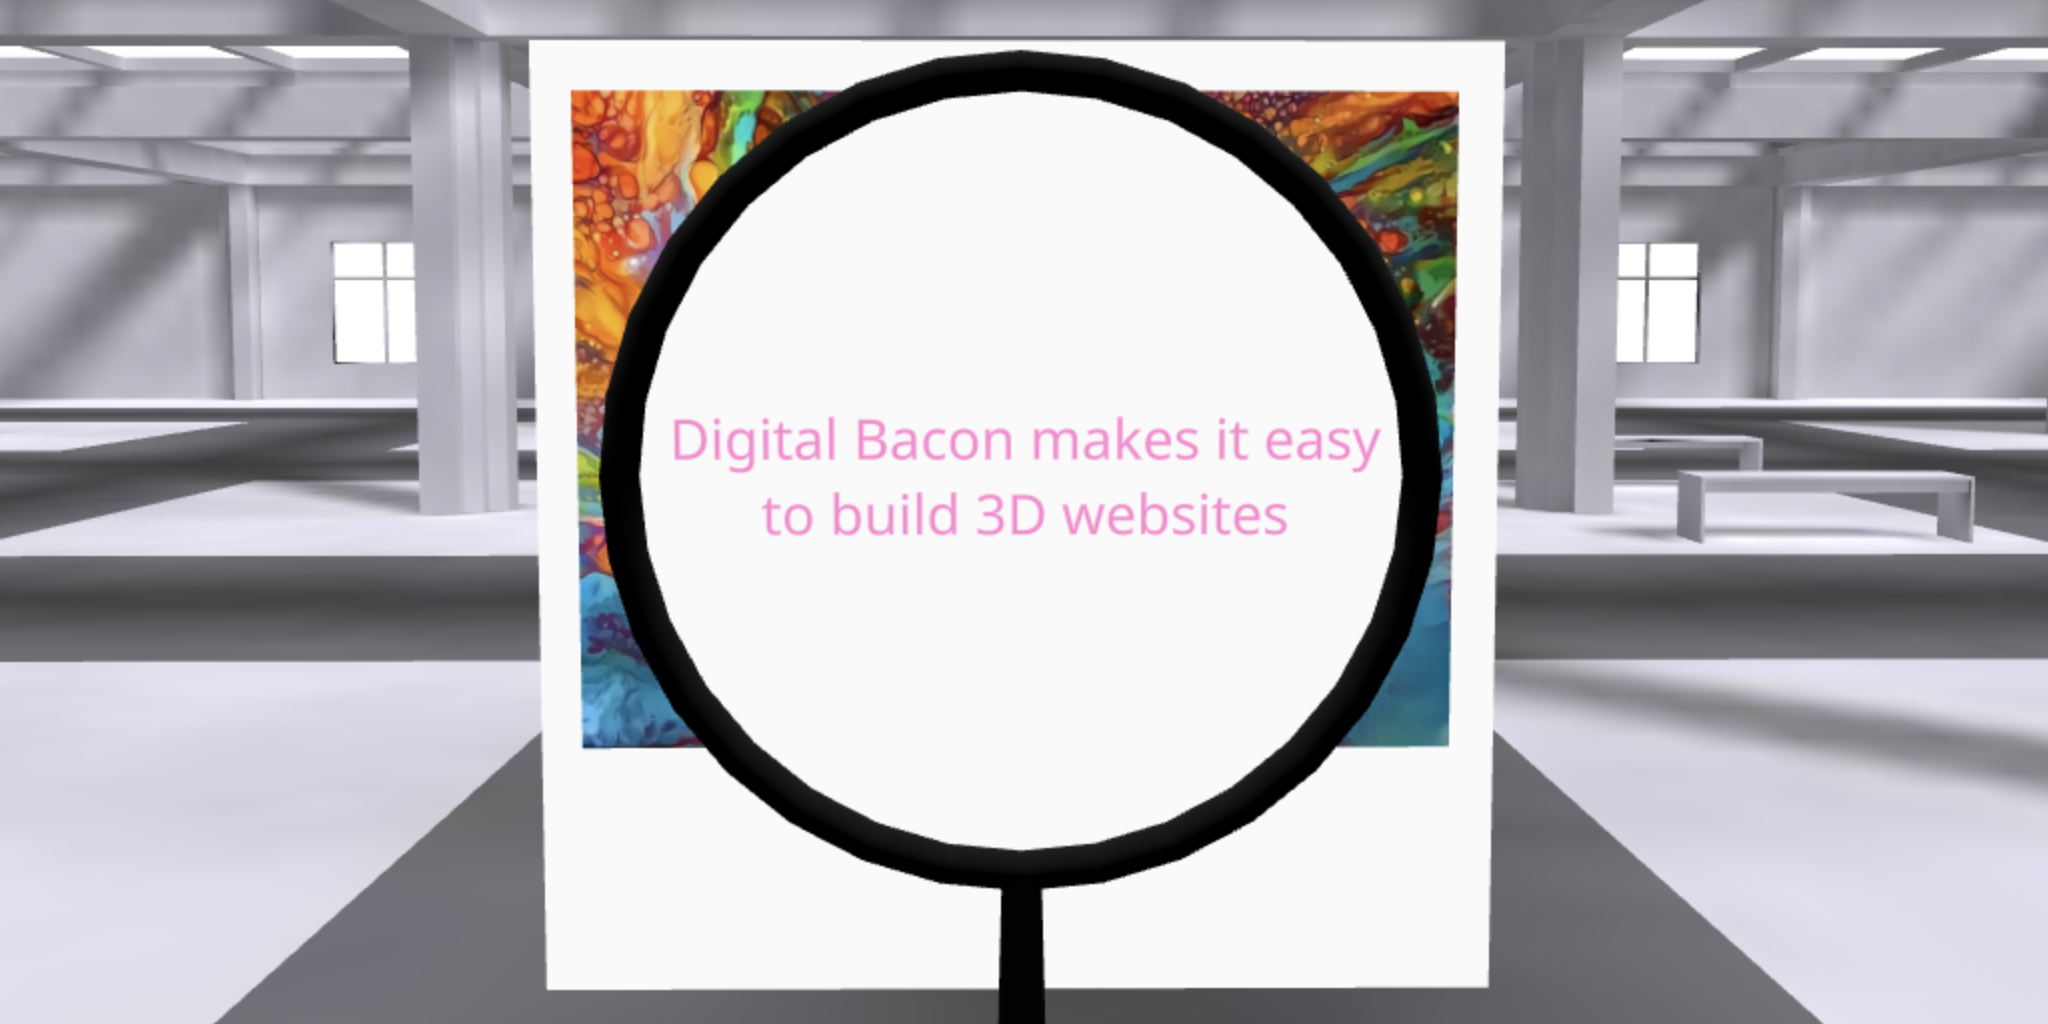
In this tutorial, we'll use Digital Bacon to hide a secret message behind a painting and then create a tool to uncover it
See this tutorial done on YouTube as a VR user or PC user

The Lens of Truth we'll be creating in action
Setting up our Scene
Let's start by selecting one of the galleries from the templates page and creating an exhibit wall in front of the user. To create a wall, open the virtual menu and select Library -> Shapes -> Plus (+) button -> Box. Then you can set your box width + height to 2.25 meters, or your preferred dimensions, and attach a new Standard Material to set the color
Tip: to avoid accidentally editing the box again you can uncheck its "Visually Edit" option
Now let's add our secret message to the wall. On the second page of the Library you'll find the Text section, from where you can add a new Plain Text asset (you might need to play with the font color and size). To get the text flush against our display wall, you can use the place tool followed by selecting the location you want. PC and Mobile users can find this tool on the left hand side after clicking the text asset itself. XR users can find the place tool in the Hand Tools section of the virtual menu, which will let them use the trigger to place assets after grabbing them
To hide our message we can just upload an image of some art and place it on top of our message the same way we placed the message on the wall. Great, now our message is successfully hidden
Creating the Lens of Truth
Let's start by making a magnifying glass. First add a circle and label it "Lens" so it's easy to find in the library. Without moving the menu, add a torus shape so it centers perfectly around the circle. Name it something like "Frame" and adjust the tube radius to 0.005. Next, attach a standard material and color it black. Make sure to name the material too. For the handle we can add a cylinder and attach the same material the frame is using. Make the top radius 0.005 and bottom radius 0.01 and then position it lower so the top of the handle intersects just the bottom of the frame. Finally, set the parent for both lens and frame to the handle. This ensures that everything moves together with the handle when grabbed
Now for the fun part, add a basic material to the lens and make it double sided, transparent, and set the transparency to 0. Next make the render order of the artistic image you selected as 1. The transparent lens should now be able to see through the art and read the hidden message you've written. If you're confused on how render order works, we recommend checking out the transparency problem article to get a better understanding of what we just did
Finishing Touch
It's not much of a magnifying glass if we can't pick it up right? Let's enhance it by using the Grabbable Component & System available in the plugins page. Upload them to the project and attach the grabbable component to the handle. If you're not sure how to do this, just go find the handle in the library and click the gears icon in the top left corner next to where you edited the asset's name. There you can attach the component
Now when you preview your project or host it online, users can actually pick up your lens of truth to uncover the secret message. While XR users can physically grab it, PC and Mobile users version of grabbing will be attaching it to their avatar, so you'll need to zoom in to first person mode to see through it more easily
See this project live in action
There are a lot neat things you can do to engage your users by adding in an element of discovery with a tool like this. Once you've built your website, it's time to share your work online. Check out My Digital Bacon as an easy to use and convenient hosting service. The user-friendly platform offers a free tier with no payment details required, so you can explore all their features risk-free. Plus, if you choose to host elsewhere, My Digital Bacon can still enable multi-user sessions using its servers to enhance the user experience of your website
If you like this tutorial and want early access to new content, feel free to sign up for our Email Newsletter
